Dark and Darker maps challenge every player with danger, mystery, and rewards. When you explore these maps, you face traps, monsters, and hidden paths. Because every corner matters, you must understand the layouts clearly. This guide explains all major maps, shows how to navigate them, and helps you survive longer. With clear structure, strong explanations, and optimized formatting, you can quickly learn useful strategies that improve gameplay and decision-making
Understanding How Dark and Darker Maps Work
Dark and Darker maps are designed with layered floors, tight rooms, and unpredictable encounters. When you move deeper inside, difficulty rises. Because these maps shift between loot-heavy zones and combat corridors, you must plan your route properly. Each map pushes you to choose between quick escapes or deeper treasure runs. That balance keeps the gameplay intense.
Every map uses sound, lighting, and enemy placement to direct your movement. When you learn those patterns, you gain more control over each run. This knowledge helps you understand where fights happen, where treasure stays hidden, and where escape portals usually appear. With this approach, you avoid unnecessary risks and increase your success rate.
Dark and Darker Maps Overview: Key Layout Patterns
Dark and Darker maps follow common patterns, even though each one looks unique. Because these patterns repeat, you can recognize danger zones faster. Most maps feature narrow hallways that encourage ambushes, large central rooms full of loot, and side chambers that hide rare items. When you explore carefully, you spot opportunities before enemies surprise you.
These maps also include vertical layers. When you drop into lower floors, you encounter stronger monsters, better loot, and fewer exits. This design forces strategic thinking. Instead of rushing, you analyze the environment, predict enemy movement, and choose safer paths. That habit helps you survive difficult sections across all maps.
Goblin Caves Map Guide: The Best Solo-Friendly Layout

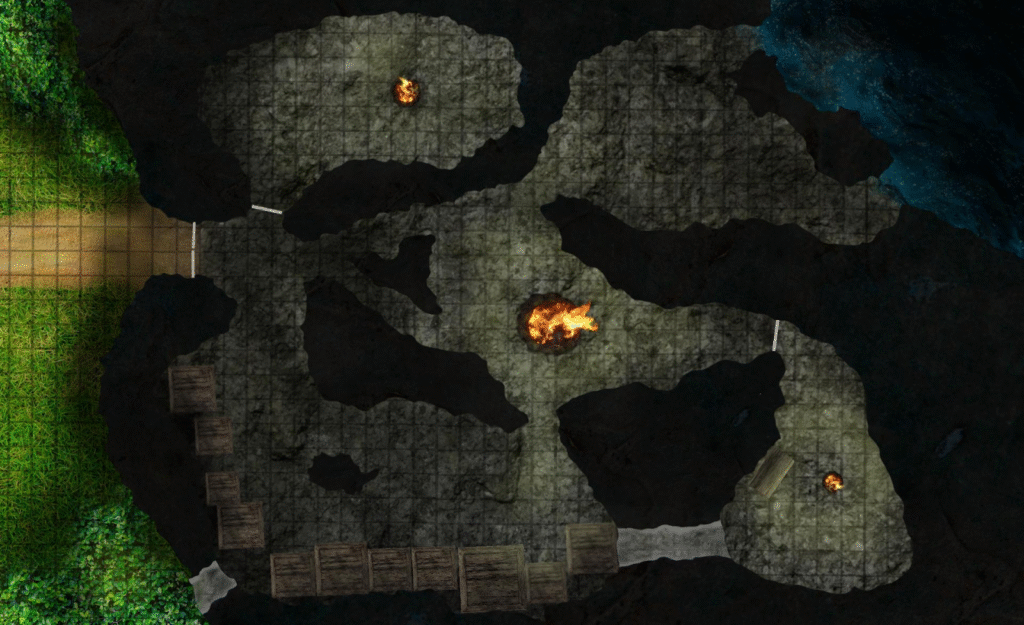
Goblin Caves is one of the most popular Dark and Darker maps for solo players. Because it focuses on stealth and quick movement, beginners often start here. When you enter the caves, you notice tight tunnels and small chambers. Those areas create fast encounters, so you must stay alert and ready for sudden fights.
The map features goblins, brute variants, and traps placed along narrow paths. When you study the layout, you learn how to avoid unnecessary combat while collecting loot efficiently. Transitioning between rooms requires careful listening. Footsteps and enemy sounds guide your next move. Because space is limited, every choice matters.
Forgotten Castle Map Guide: The Core Dungeon Experience
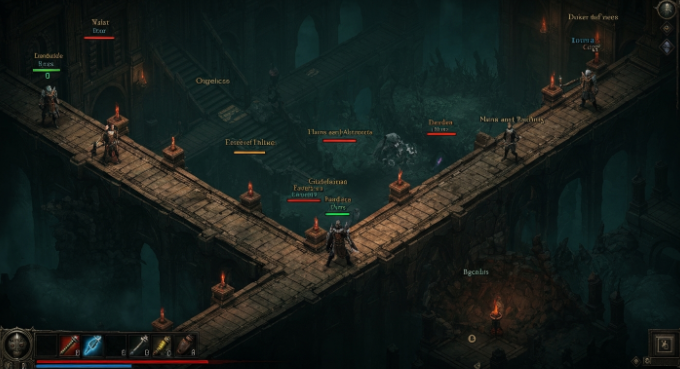
The Forgotten Castle offers the full Dark and Darker experience. When you explore this map, you encounter multi-floor sections, treasure halls, and heavily guarded corridors. Because enemies vary in strength, you must balance risk and reward. Teams often use this map to practice coordinated movement and loot sharing.
Central rooms hold high-value items. When you enter those spaces, you must prepare for enemy players waiting nearby. The outer hallways contain traps that slow progress and force careful movement. Transitioning between floors allows strategic repositioning. When you know the environment well, you gain tactical advantages against other teams.
Ruins Map Guide: Outdoor Danger with Open Sightlines
The Ruins map blends open outdoor zones with indoor chambers. Because sightlines stay long in outdoor areas, ranged combat becomes important. Archers, spell users, and mobile classes gain strong advantages when they stay at elevated positions. When you move through open spaces, you must watch all angles.
Inside the ruined buildings, close-range fights start quickly. Loot placement encourages players to explore hidden corners and collapsed structures. Transitioning between indoor and outdoor zones creates unpredictable encounters, so you must adjust your strategy constantly. When you understand the terrain, you escape ambushes and secure valuable items more safely.
Crypt Map Guide: High Difficulty and High Rewards

The Crypt map challenges players with complex tunnels, undead enemies, and dangerous traps. Because this map offers rare loot, experienced teams often choose it. When you enter deeper corridors, shadows hide threats. Movement requires slow pacing and strong coordination. One mistake can lead to overwhelming enemy pressure.
Treasure rooms in the Crypt contain powerful gear. When you locate them, you must fight through elite enemies. Traps placed along doorways force careful stepping, especially during combat. Transitioning between routes demands attention, because wrong turns lead to dead ends. With map knowledge, you navigate the Crypt confidently.
High-Roller Variants: Why These Map Versions Feel More Intense
High-Roller versions of Dark and Darker maps offer tougher enemies and better loot. When you enter these variants, you risk losing your best gear. Because rewards increase dramatically, only skilled players join these runs. Each map layout stays similar, but enemy density rises and traps deal more damage.
Team coordination becomes essential. When you travel deeper inside a High-Roller map, every fight drains your resources. That challenge forces smart movement. Transitioning between rooms requires planning. When you communicate well, you clear difficult sections safely. With consistent practice, High-Roller maps become manageable and rewarding.
Map Navigation Strategies: Staying Alive Longer
Survival in Dark and Darker maps depends on strong navigation. When you memorize common room shapes, you predict enemy movement better. Identifying loot zones early helps you choose faster routes. Because fights happen suddenly, you must maintain awareness. Listening carefully reveals nearby threats.
Always build a path toward escape portals. When enemies push you toward dangerous locations, having an exit strategy saves your run. Transitioning between sections with controlled movement shows discipline. When you combine route knowledge with smart decision-making, you consistently improve performance across all maps.
Treasure Zones: How to Secure Valuable Loot
Treasure zones hold rare items. When you discover them, you must prepare for strong enemies. Rushing inside creates unnecessary danger. Instead, you observe movement, eliminate threats carefully, and stay aware of other players. Because these zones attract attention, silent movement becomes useful.
Looting efficiently keeps you safe. When you plan your inventory early, you avoid panic inside dangerous rooms. Transitioning from treasure zones to safer locations requires precision. When you understand how loot distribution works, you increase your chances of returning home with valuable gear.
Enemy Placement: How Patterns Shape Every Map Run

Dark and Darker maps use predictable enemy placement. When you learn these patterns, you avoid walking into deadly ambushes. Strong enemies guard high-value rooms. Basic enemies patrol hallways. Because these placements follow logic, experienced players use this knowledge to route efficiently.
Studying sounds also reveals enemy positions. When monsters move nearby, audio cues guide your path. Transitioning between quiet sections and active zones requires patience. With enough practice, you recognize patterns instantly. That habit makes every map run more controlled and successful.
Conclusion
Dark and Darker maps challenge every player, but strong knowledge turns danger into opportunity. When you study layouts, understand enemy placement, and practice clean navigation, you gain major advantages in every run. Start applying these strategies now. Enter the dungeon, explore with confidence, and claim victory in your next adventure.
FAQs
1. How many Dark and Darker maps are available?
Several maps exist, each offering different environments, challenges, and loot levels. Players choose based on skill, class, and preferred playstyle.
2. Which Dark and Darker map is best for beginners?
Goblin Caves works best for beginners because solo players can explore safely and learn basic mechanics without team pressure.
3. What makes High-Roller maps harder?
High-Roller maps include stronger enemies, more traps, and higher stakes. Players risk valuable gear but gain better loot rewards.
4. How do I learn map layouts faster?
Practice consistent runs, memorize key rooms, watch enemy patterns, and follow logical routes. Repetition builds strong map awareness.
5. Which map gives the best loot?
Crypt and High-Roller versions offer the highest-value items, but they demand strong teamwork, focus, and preparation.


